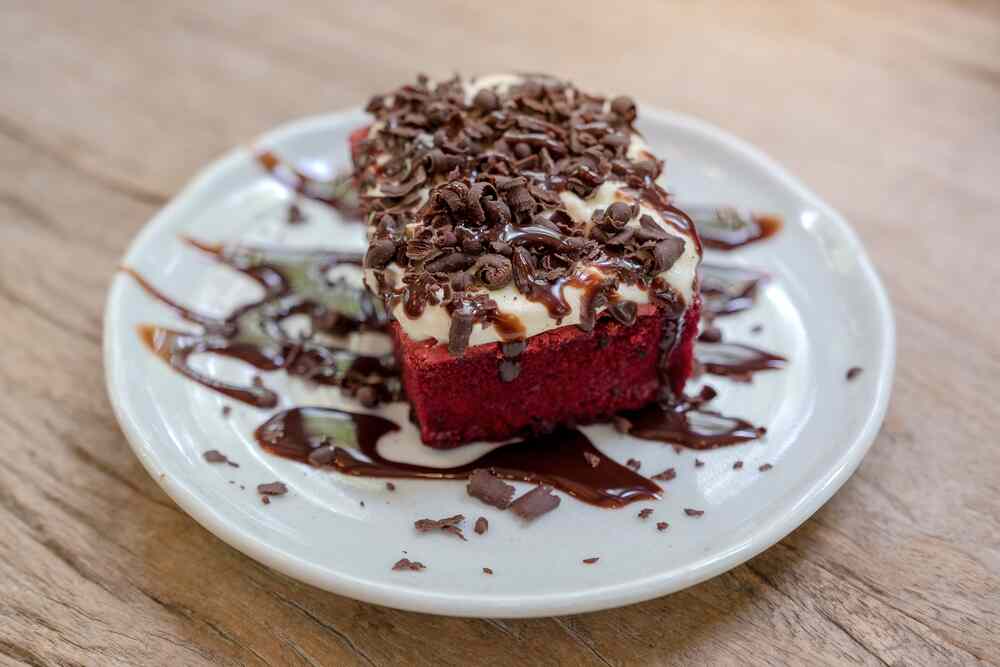
Chocolate garnish consists of several beautiful shapes and can add to the visual value of the dish. You can be creative in making various kinds of chocolate garnishes in various shapes in your own kitchen for decorating dishes. These decorations can add flavor to your menu because customers can eat the chocolate garnish on top.
There are many forms of chocolate garnish that can be made to add to the beauty of the dish. KioskCokelat will share various beautiful garnishes that can be used as inspiration for your decorations.
Various Kinds of Beautiful Chocolate Garnishes Based on Their Shapes
Chocolate garnishes are quite commonly used in a variety of dishes, from bakery products to drinks. The technique for making chocolate garnish starts with melting the chocolate ingredients. You can use Tulip Dark Compound Chocolate because this product is easier to process into garnishes of various shapes than couverture chocolate .
You can use the Au-Bain Marie technique to melt compound chocolate to keep it glossy. This technique involves placing a bowl filled with small pieces of chocolate over a pot of hot water. The bowl should be larger than the hot water pot so that no water gets into the chocolate.
Use low heat during the cooking process to prevent the water from boiling over. The reason is, boiling water will overflow and can get into the chocolate ingredients. When melting the chocolate, you have to stir the chocolate constantly until it's completely melted. After the chocolate has completely melted, then you can print chocolate garnishes in the shape below.
1. Shape Drawstring
This form is quite common in tart cake toppings or drinks such as milkshakes . The process is quite easy, you only need to prepare paper for the cake base and a knife to make shaved chocolate.
Pour the melted chocolate onto the parchment paper, then flatten it using a knife or a cookie dough roller. Make sure the chocolate is not too thick so that the shavings form easily. Wait a few moments for it to harden, then use a knife to shape the garnish into small shavings.
2. Leaf Shape
This shape is pretty easy to make and you can use pretty little leaves as a template. Use a small, clean paintbrush to apply the melted chocolate onto the leaves.
You can make details in the form of patterns or veins by painting deeper in the area. Wait for it to dry and make sure the chocolate-coated side of the leaf is facing up. Carefully peel the chocolate from the leaves, then place it as a garnish on your dish.
3. Flower shape
Apart from leaves, you can make flower-shaped garnishes to make the dish look more attractive. This shape is made using a piping bag and printed on parchment paper before being used as a decoration for the dish.
The way to make it is to put the melted chocolate into the piping bag , then cut the bottom. Spray the chocolate to form a beautiful flower, then wait for it to dry. You can make many other shapes using this technique, for example butterflies, ribbons, hearts, and so on. Try to be creative in making other shapes so that the appearance of your dish is more varied.
4. Straw Form
This shape can be used for the drink menu in your business. The technique is the same as forming shavings, the difference is that this shape is made bigger and longer.
Start by pouring the melted chocolate onto the parchment paper, then roll out the parchment paper using a rolling pin. Refrigerate the chocolate for five minutes until it hardens. After that, slowly remove the rolling pin, then remove the chocolate from the paper to form straws.
The technique for making various chocolate garnishes must be done carefully. You can practice making various forms of the chocolate garnish so that the results are satisfying. Also use quality ingredients from KioskCokelat so that your chocolate dishes are even more delicious when eaten by customers. Contact us to get chocolate products for your culinary business needs.


